
A lot of careful thought and planning goes into photography and videography in order to obtain the coveted perfect shot. There are a number of tricks and tools that the cinematographer/photographer has in their repertoire in order to convey the desired mood, feature the desired subject, or direct the audience’s attention to a particular part of the screen.
On the front lines is the lens of the camera itself. There is an overwhelming number of options in camera lenses, each with its own capabilities and features. Choosing the right lens for a particular shot takes experience and practice. In addition, the lens chosen will largely depend on the preference of the user.
That being said, it is best practice to become familiar with all of the effects different lenses can provide to the overall look of the photo or video. We have compiled a list of some of the lenses our videographer, Michael, recommends as a solid place to start!
Before we get into the different kinds of lenses, let’s do a quick review of some basic photography terminology.
ISO (International Standards Organization): is an organization that sets international standards for all different kinds of measurements. When it comes to your camera, the ISO refers to the sensitivity to light and it is one of the three key factors that can affect how bright or dark your photos will be.
Aperture: An adjustable ring that controls how exposed to light the subject is.
Focal Length: The distance between the centre of a lens or curved mirror and its focus.
F-stop vs T-stop: An F-stop is a mathematical equation based on the focal length of the lens, relative to the size of the opening where light comes through. A T-stop is the actual measurement of light transmitted through the lens. Pretty simple right? If you’re still not entirely sure about the difference, you can do a deeper dive DIYPhotography.net.
Shutter Speed: Shutter speed–or exposure time–refers to the length of time when the film or digital sensor in the camera is exposed to light, or the time a camera’s shutter is open when taking a photograph.
Aspect Ratio: Is used to describe the dimensions (width and height) of your image shown and is usually determined by your camera’s sensor. Most DSLR (Digital Single Lens Reflex) camera sensors have a 3:2 aspect ratio, which is about the same aspect ratio as 35mm film. Neat!
Now that we’re experts in basic terminology, let’s jump right in and look at types of lenses!
Zoom Lens
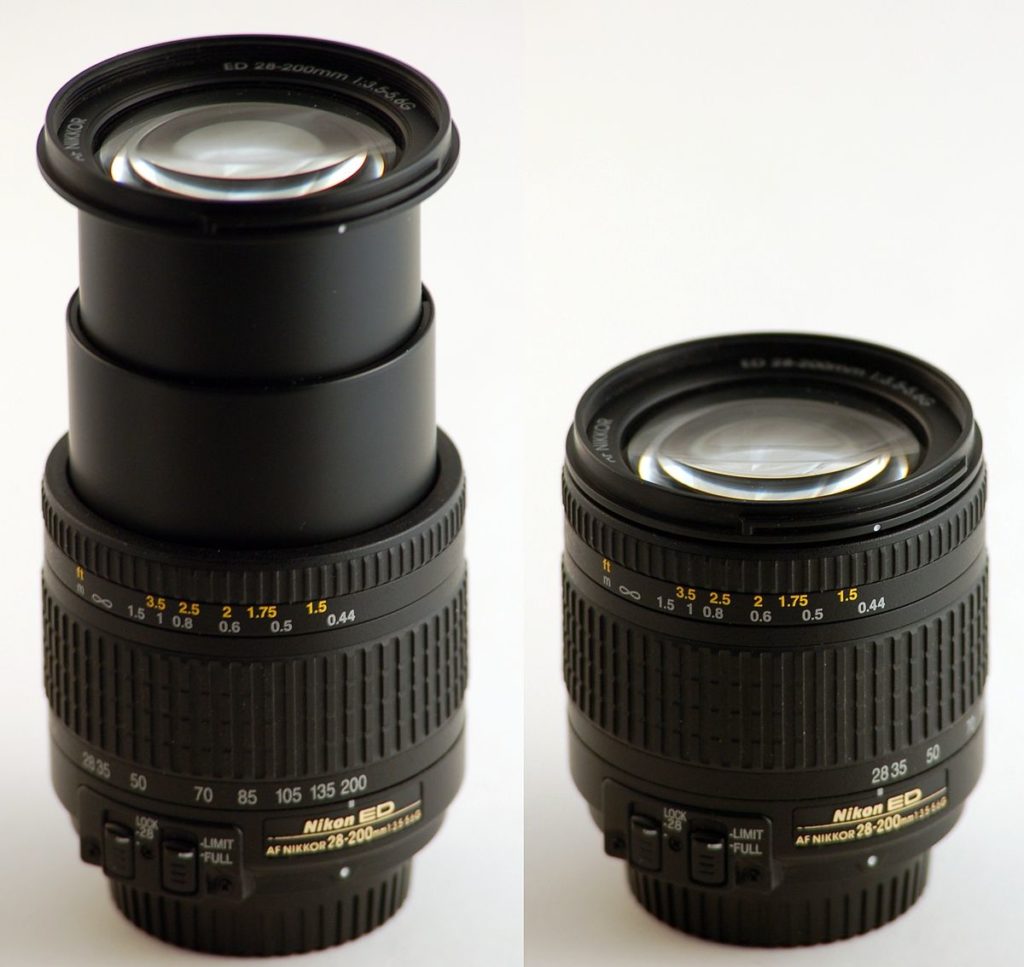 A lens with a range of focal lengths. Allows the photographer to “zoom” in/out on the subject. It is commonly found on both automatic and digital cameras as it enables quick and easy reframing. Perfect for a beginning photographer.
Prime Lens
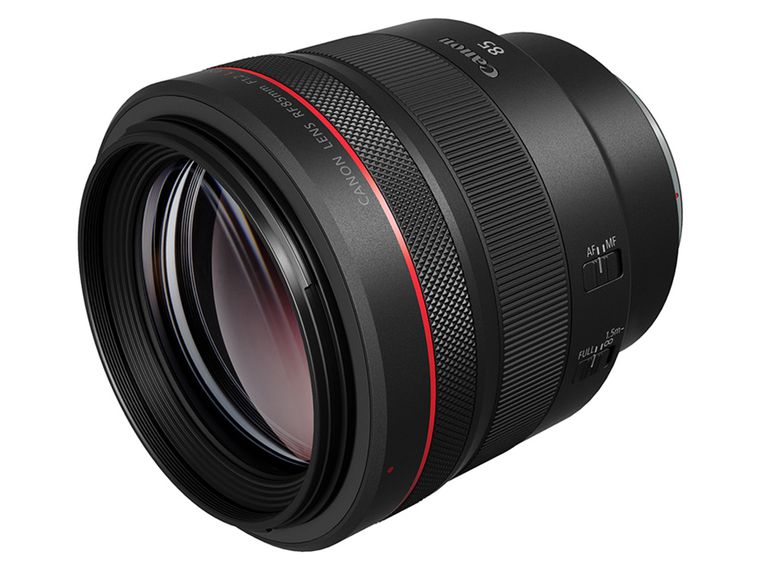
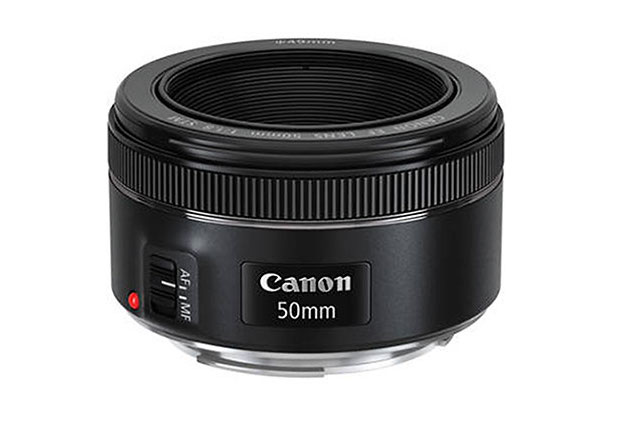 This is a lens with a fixed focal length. Must physically move to get closer to the subject. Most common being the 35mm, 50mm (as pictured above), and the 85mm prime lens. One of the key benefits of using a prime lens is their ability to shoot at a fast/wide aperture, creating a more shallow depth of field than what could be achieved with a zoom lens.
Telephoto Lens
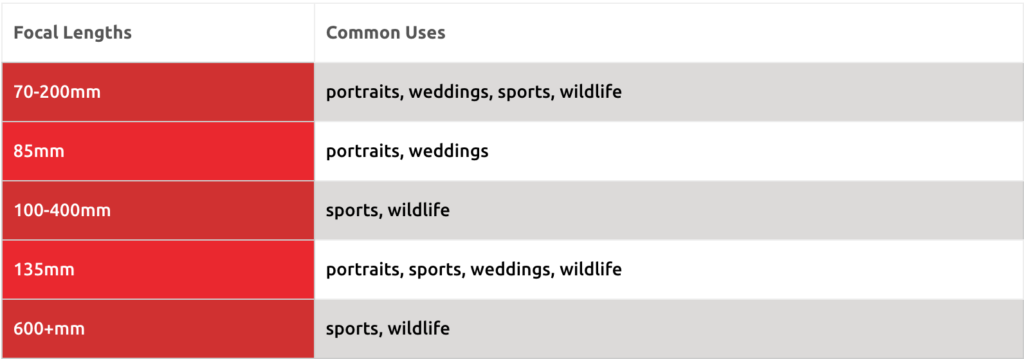
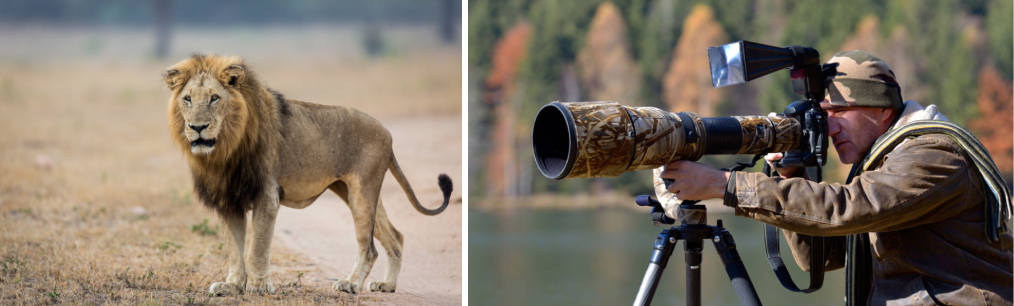
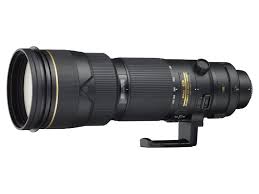 Broadly speaking, any lens with a focal length of over 60mm is deemed telephoto. What this allows the camera to do is make the subject appear closer to the camera while giving the image a blurry background. These cameras are great for portraits, wildlife, sports and weddings to name a few scenarios.
Portrait Lens
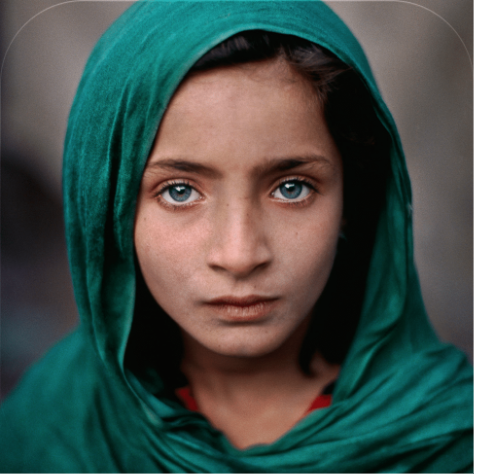
 When dealing with this lens it might just be easier to think portrait mode on new mobile phones. This one is self-explanatory, but for clarity, a portrait lens is any lens that takes a good—you guessed it—portrait! A portrait lens can, in fact, be a telephoto lens, if that is the preference of the photographer. However, typically a portrait lens is anywhere between 70-135mm with a wide maximum aperture for low-light situations.
Wide-Angle Lens
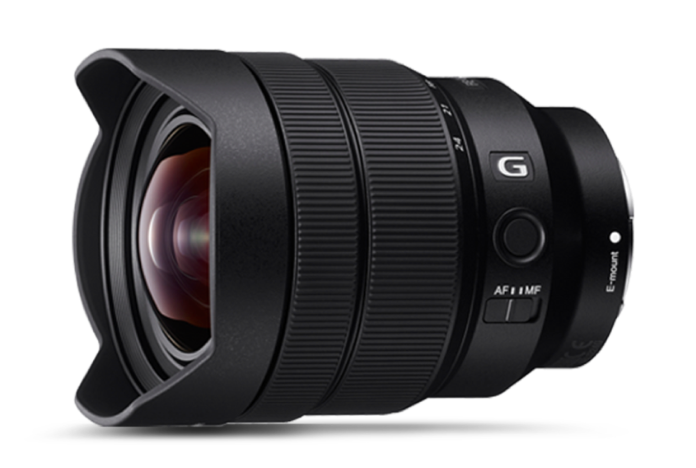
Wide lenses typically have a focal length of or below 35mm. This allows the camera to capture a wider field of vision and makes it perfect for scenes. Landscapes, architecture, and cityscapes are common subjects for a wide-angle lens.

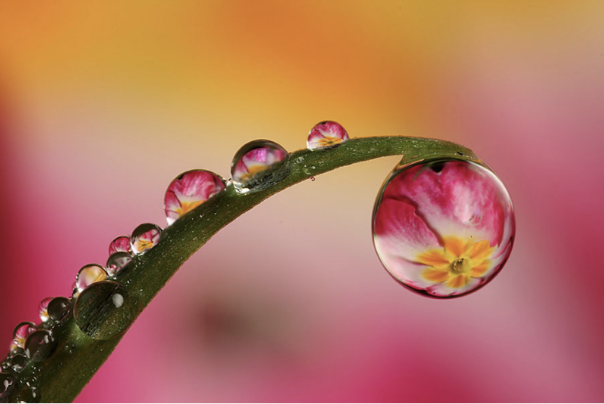
Macro Lens
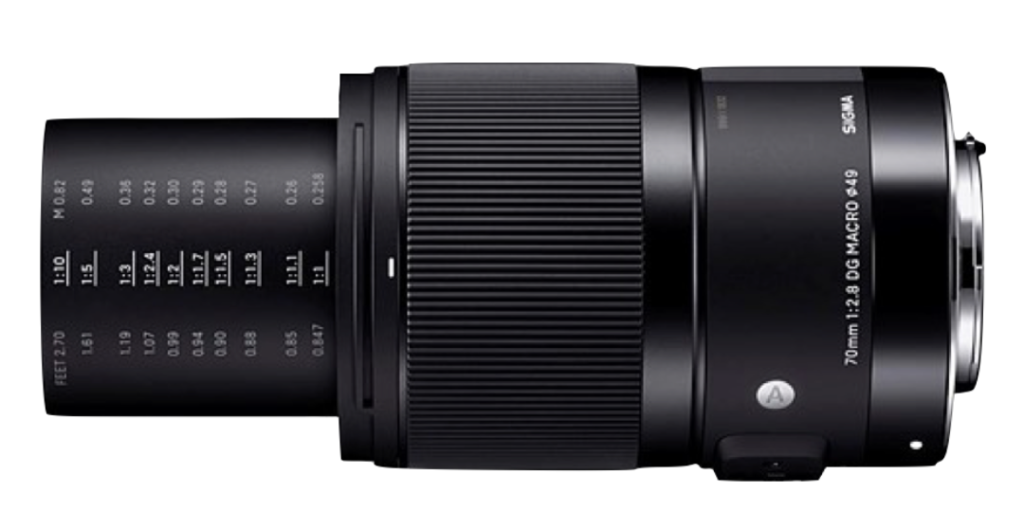 This is the lens used to achieve those beautiful, detailed, close-up wildlife or product photos. A macro lens allows the photographer to capture details that are difficult to see with the bare human eye. Think of this one as a magnifying glass.
Specialty
Last but not least, there are a variety of different kinds of specialty lenses, including tilt-shift, fisheye, and soft focus, among others. In fact, the aforementioned macro lens is, in fact, a specialty lens. While these lenses certainly are not cheap, they can really elevate your photography game to the professional level.
Here’s one of our favourite specialty lenses, called the Probe Lens.
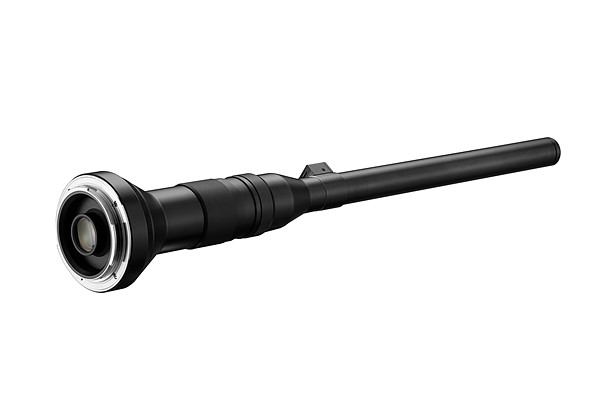
Funny looking thing, but one that captures from really interesting shots. Take a look for yourself!
In addition to different lenses, there are a handful of techniques many directors use in order to make the shot more interesting.
Take the Long Shot, for example. The long shot is a way to describe the framing of the subject. Framing is the way the subject fills and fits into the scene. When looking at a long shot, the basic requirement is that the subject is fully visible in the scene. To explain, there should be a moderate amount of space between the bottom and top of the image, and the subject. In relation to the photo below, the long shot would be an even larger frame space than the full shot.
 Moreover, the push shot, sometimes known as the dolly shot, is referred to when the camera physically gets closer to the subject. This is not to be confused with a zoom-in shot, which refers to when the scene magnifies and the focal lens on the camera is adjusted.
I know, clear as mud right? Notice the subtle difference in the two videos below. The push/dolly in shot on the right gives a more natural effect, almost like the audience is repositioning their view on the subject.
Alright, so let now combine the concepts of push/dolly in and zoom in together. When cinematographers use this trick, a “vertigo” effect is created. Fittingly so, as the first film to famously incorporate this camera trick, as demonstrated down below, was Alfred Hitchcock’s Vertigo (1958). This effect is achieved by zooming in on the subject while simultaneously moving physically away (dolly out).
As you can see, the resulting effect gives the background a distorted look to it. Filmmakers use this effect in a number of different ways, most commonly to portray the illusion that the world is closing in around the subject.
By the same token, like creative shots, creative edits are particularly important in the world of film. Here are just a few of the creative edits we, at adHOME, recommend every professional videographer becomes familiar with;
Planned Sequence
Time Cutting & Sound
Perspective Edits
Alright. So you finally have the “perfect” shot, but it doesn’t look the way you would like. In fact, the images look kind of dull! Dynamic range can help with that. Dynamic range refers to the maximum and minimum measurable light intensities. As you can see in the picture below, lighting truly makes all the difference in the world!
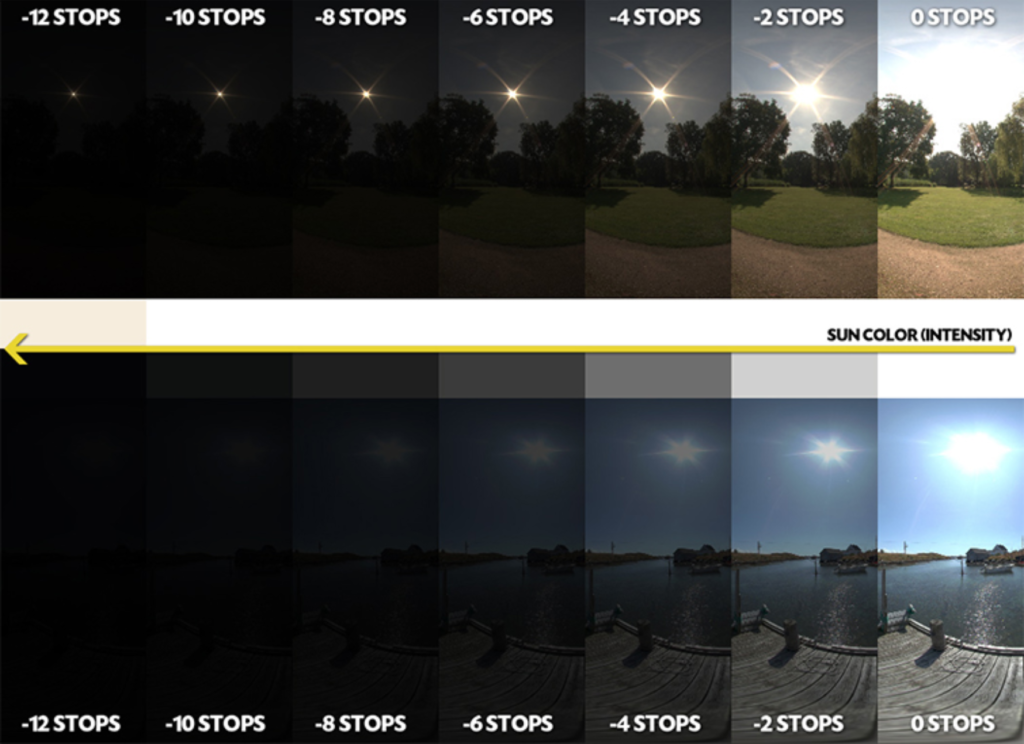
(Source: PremiumBeat, 2016)
On the far left, the scene is nearly indistinguishable, where on the right it is a clear, bright image. Think of this editing technique almost like adding a super-advanced filter to your image. As we all know, lighting and shadows can absolutely make or break an image, especially when dealing with motion pictures.
All in all, many people do not consider the intricacies behind capturing the perfect scene. It takes a lot of practice and experience in different situations to get the lens, effects and lighting correct every time.
What are some of your favourite camera techniques? We would love to hear about them in the comment section down below!